Bring your in-game colors into Color Sync
Edit colors live with EMV / Lua Freecam, then transfer the edited slots with one copy and paste.
Download exporter v1.7 · Nexus Mods page
If EMV Engine and Lua Freecam are not set up yet, follow the EMV Engine and Lua Freecam setup video. Keep REFramework installed.
Once EMV and Freecam are ready
- Enable the exporter. Place its ZIP in Fluffy Mod Manager’s
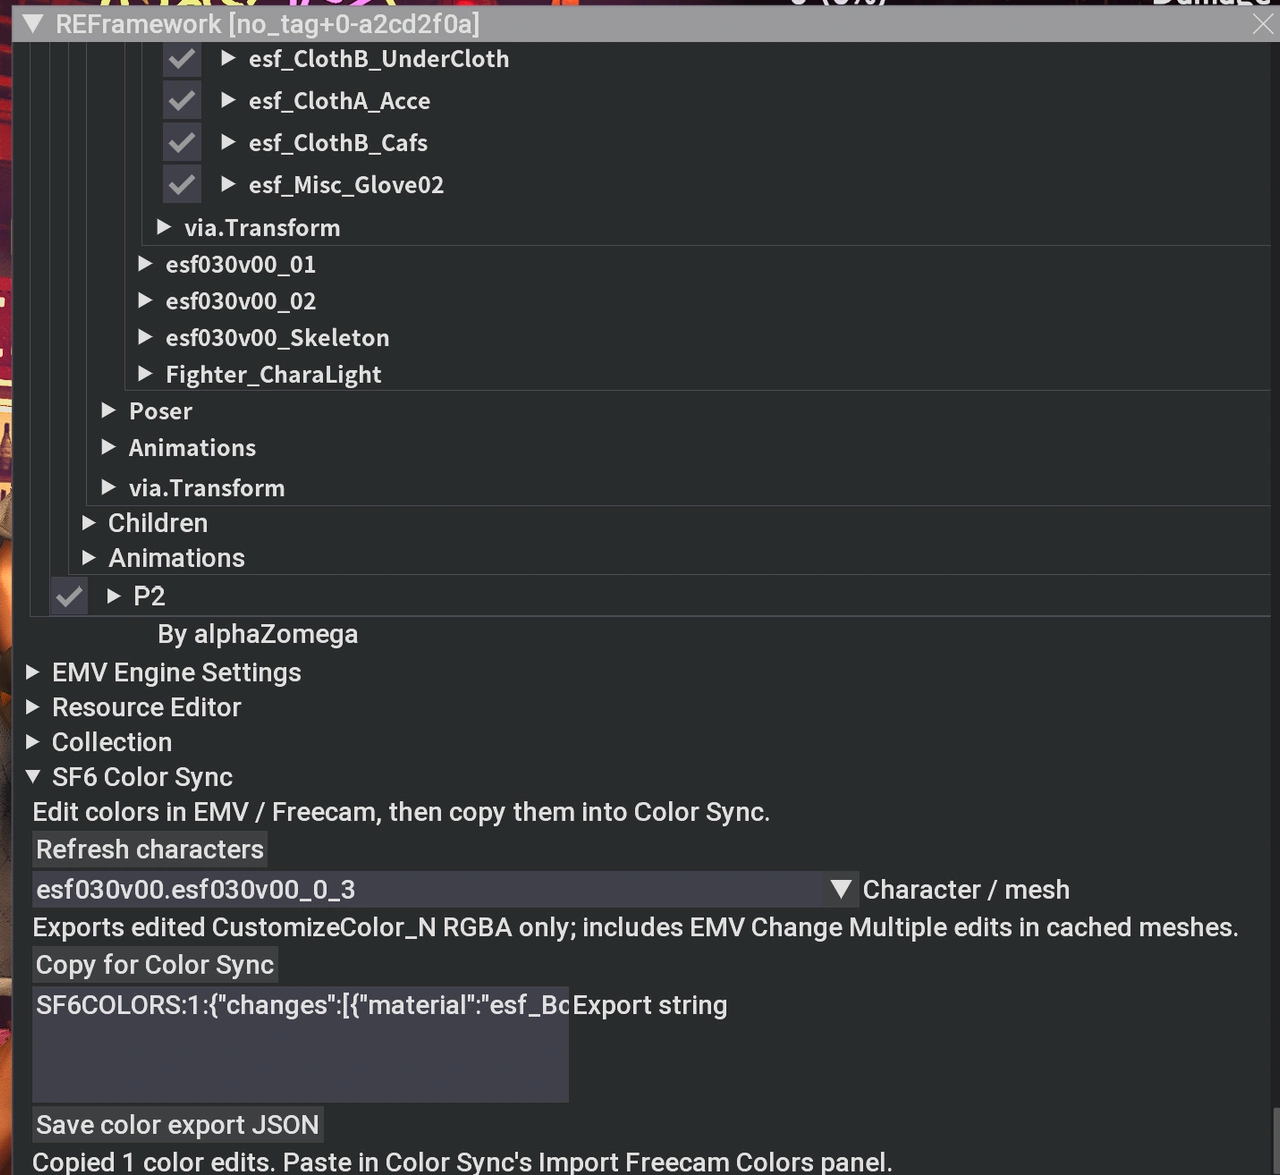
Games/SF6/Modsfolder. Refresh the mod list, disable the older exporter entry, enable v1.7, then restart SF6. - Edit and copy. Open Materials before editing in EMV / Freecam. Under REFramework’s Script Generated UI, open SF6 Color Sync. A single edited character is selected automatically. When several characters have edits, choose the one to export, then click Copy for Color Sync.
- Paste and save. Load your target mod ZIP or CMD in Color Sync and choose the active color you want to update. In section 2, open Import Freecam Colors, paste, preview, and click Apply Colors. Save the complete mod ZIP when importing shared material defaults.
Supported colors
The exporter includes edited CustomizeColor RGBA vectors, including Change Multiple edits in EMV’s cached meshes. Loose CMDs and colors-only ZIPs receive matching visual colors and activate their targets. With matching mod MDF files loaded, inactive Color 1 defaults update those materials while keeping CMD overrides inactive. Named hair shader colors are omitted.
Choose any loaded CMD as your target. Import updates its matching material and color names. Unchanged colors and other shader settings are omitted. Missing or ambiguous matches appear in the preview.
Load the complete mod ZIP to edit its shared Color 1 material defaults. The import preview shows the palettes and variants sharing those defaults, and the full ZIP export includes all required material edits.
Open each mesh’s Materials editor that you want to include, including separate hair/head meshes. Copy scans the selected character’s current cache, including meshes opened since the last refresh. When character grouping is unavailable, refresh after opening another mesh, then select and export each mesh separately. Open EMV before editing so it can capture the original colors.
Only characters with edited supported colors appear. Reused parts from another costume stay with the owning character’s body costume. A selector appears when several characters have edits; labels identify the player, character, and costume, such as P1 - Ingrid C2. Unknown costumes remain labeled as unknown, and unidentified actors include a unique object identifier.
Clipboard and undo
To share colors from a loaded CMD, use Export Colors as String in section 2 of Color Sync. Generate or copy the active CMD’s current colors, including applied edits, then paste into Import Freecam Colors for your chosen target. Inactive slots are omitted.
If copying fails, use Ctrl+A / Ctrl+C in the exporter’s text box, or save its JSON file and use Load Export JSON. The file is saved to reframework/data/SF6ColorSync/colors.sf6freecam.json.
Undo Last Import restores the pre-import CMD and affected material defaults, preserving earlier edits. Later changes to those files make that undo unavailable.